

READ OR LEAVE A COMMENT
SHARE POST
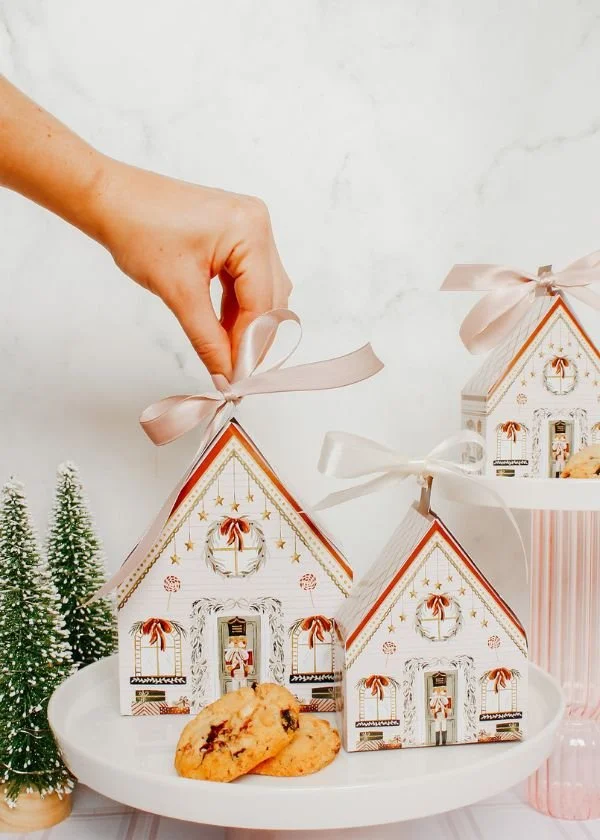
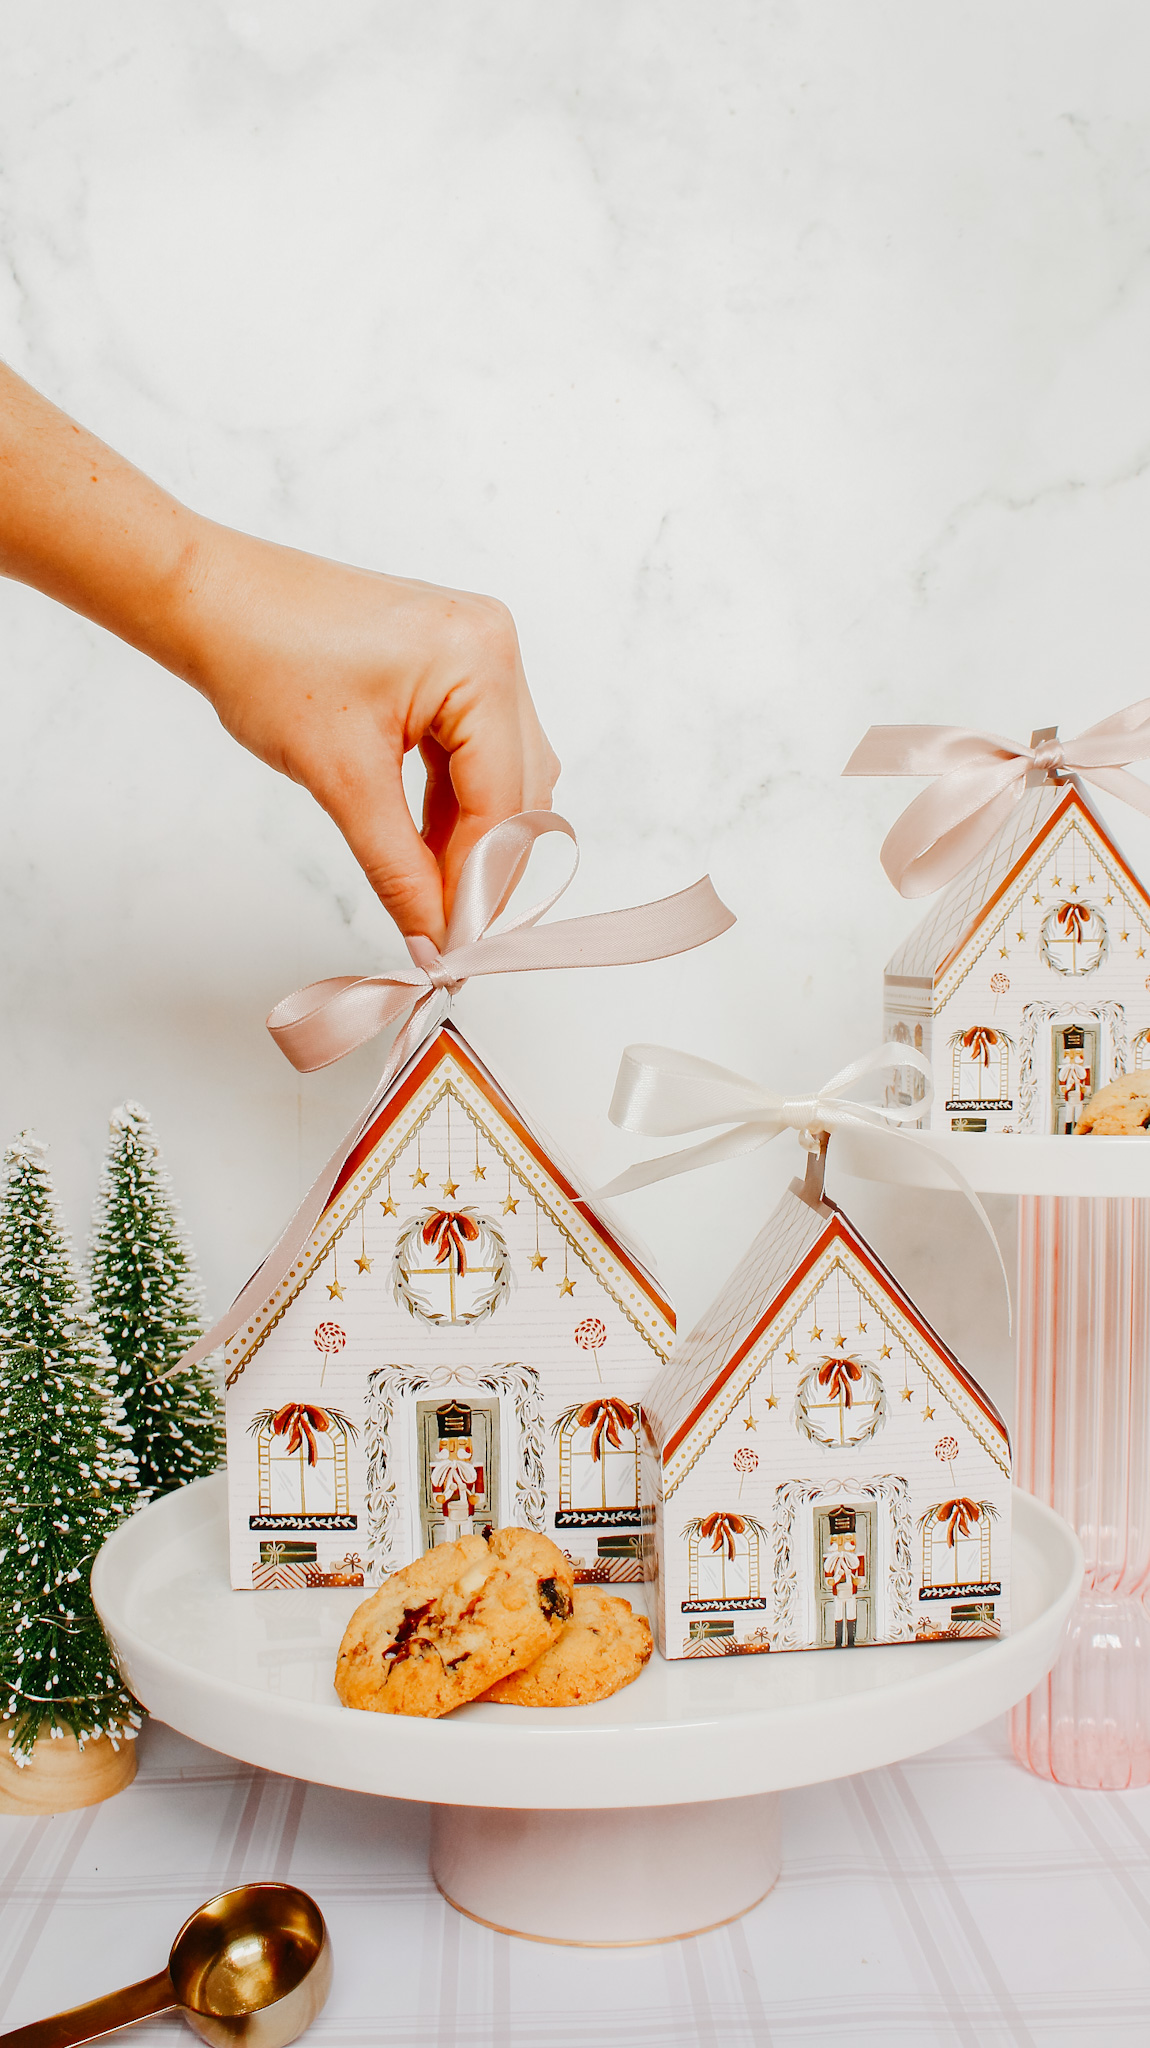
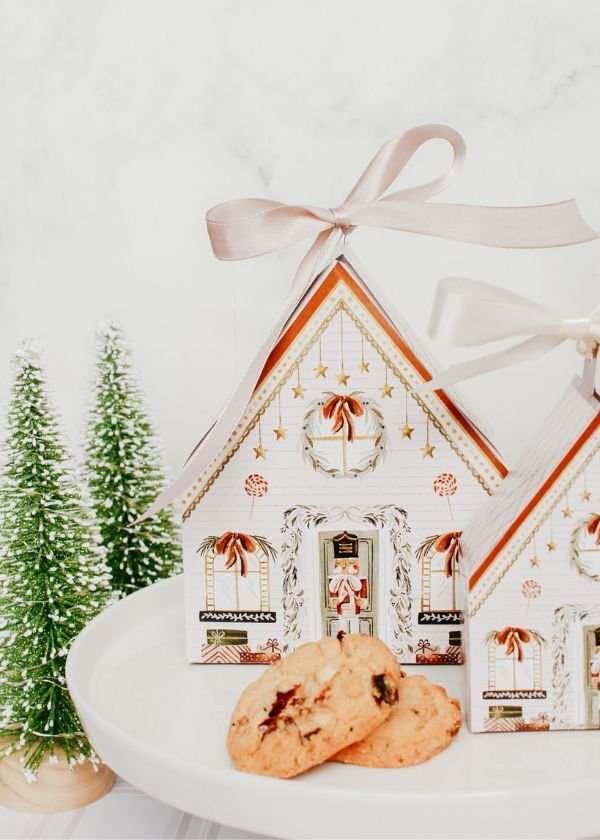
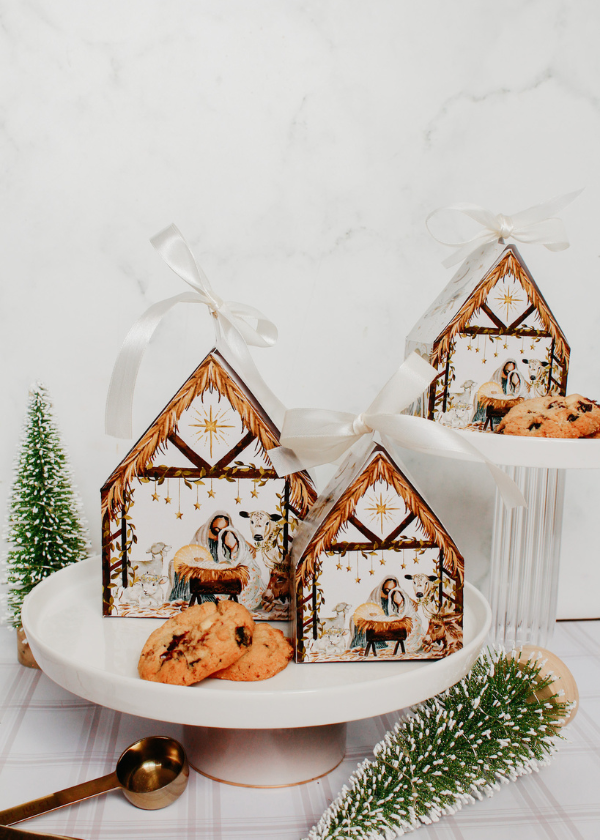
The Nutcracker theme has a special, whimsical charm at the holiday season, and now, you can bring a touch of its magic to your holiday celebrations with these Nutcracker Treat Boxes! It started as a simple idea and then the illustrator and package designer in me simply couldn’t get it out of my head. 2024 has had such an inspirational handmade Christmas feel to it and I really wanted to add to the joy. I then created an additional Nativity box which also has a special place in my heart. Perfect for gifting small treats, favours, or even as charming decor, these printable boxes combine creativity and functionality for the festive season. Whether you’re a seasoned crafter or a DIY beginner, this tutorial will guide you through creating these delightful keepsakes.
MATERIALS
Here’s what you’ll need to make your photo ornaments:
-
A4 Cardstock (thin but sturdy 180-250gsm)
-
Scissors or a craft knife
-
Double-sided tape (my preference) or glue
-
Ribbon or twine (optional for decorative accents)
-
Bone folder or embossing tool for scoring lines
-
Printer
-
Ruler (preferably steel)
Step 1: Purchase and Print the Template
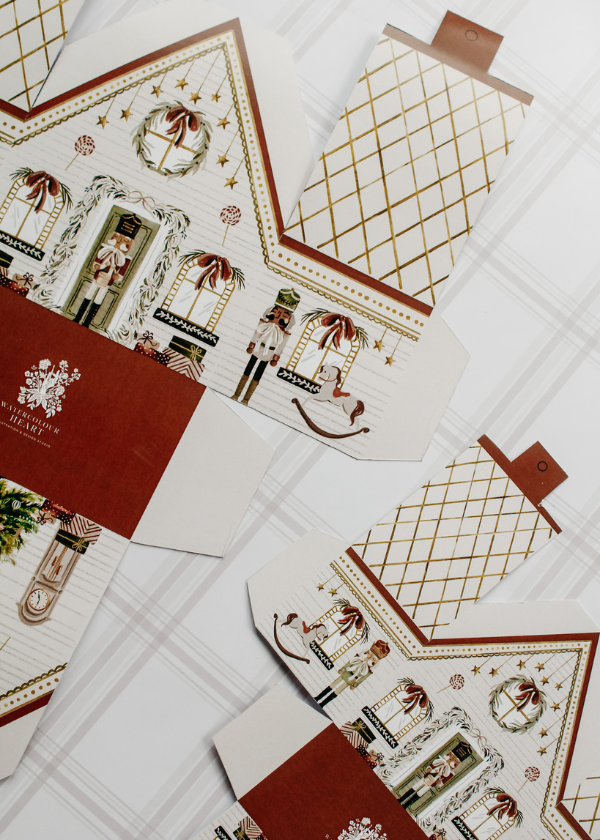
Print the Nutcracker Treat Box template onto A4 cardstock. For vibrant colours, ensure your printer settings are set to high-quality colour.
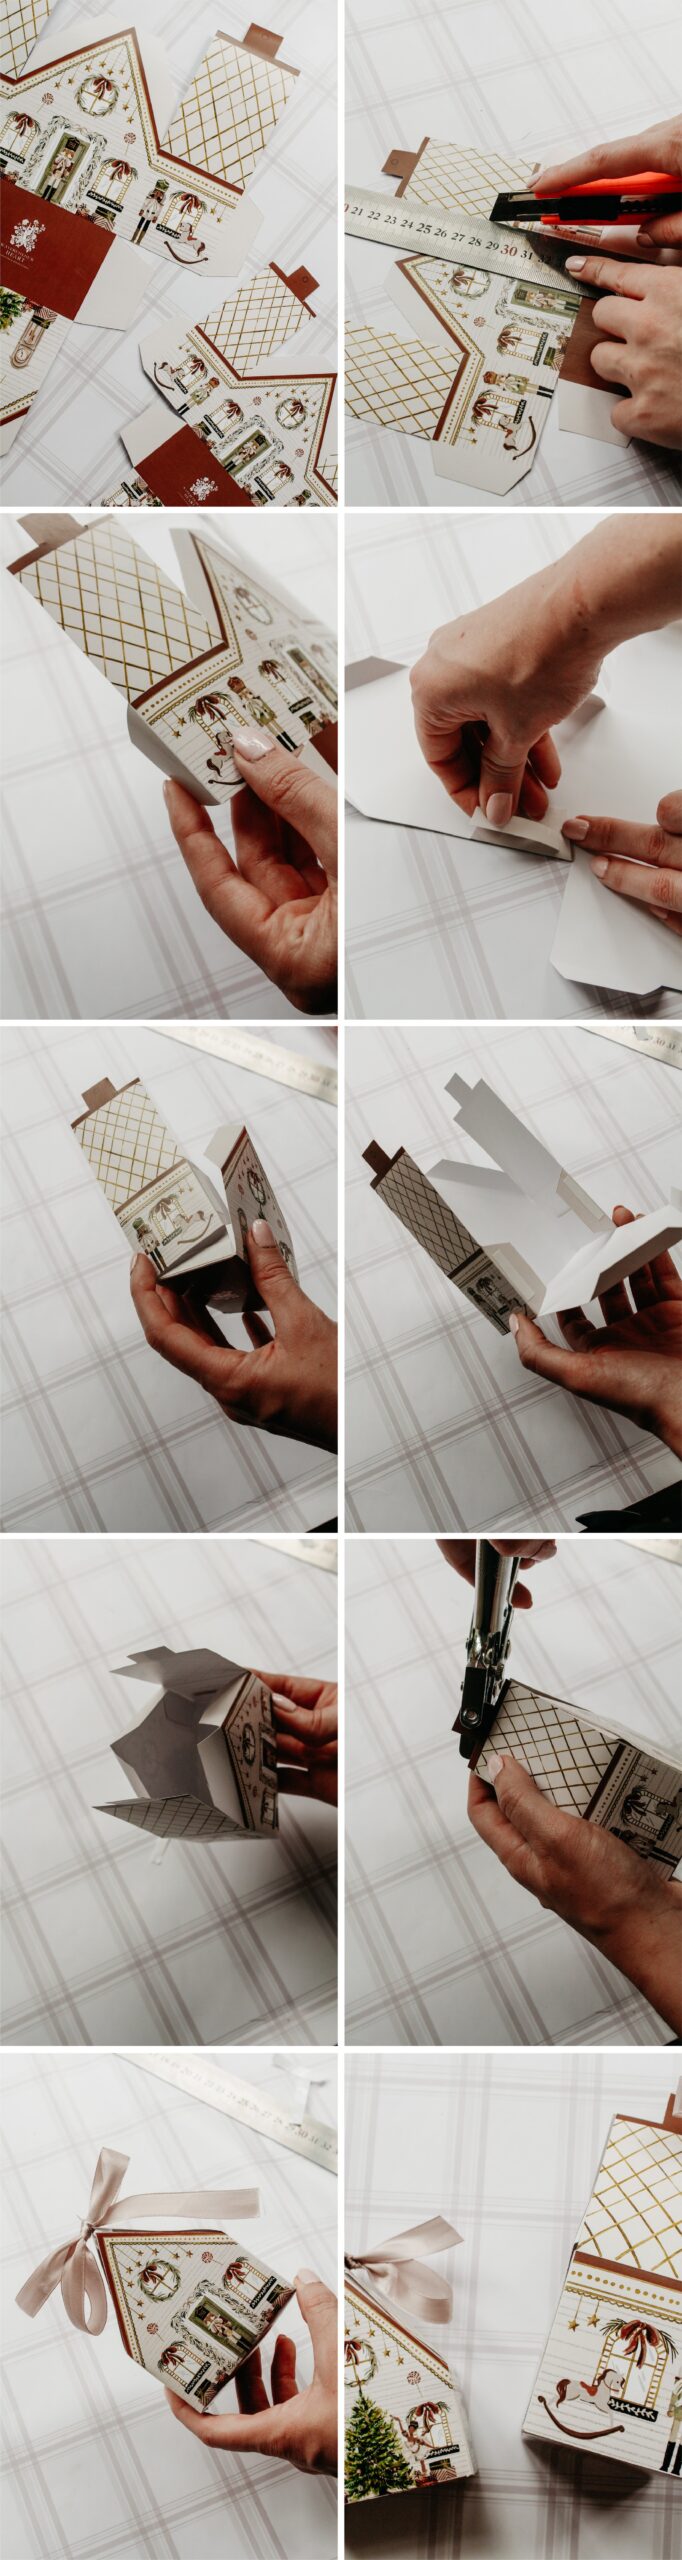
Step 2: Cut Out the Template
Using scissors or a craft knife, carefully cut along the solid lines to release the box shape from the cardstock.
Step 3: Score and Fold
Use a bone folder or embossing tool to score along allocated places in guide. This ensures crisp folds for easy assembly.
Step 4: Assemble the Box
-
Fold along the scored lines.
-
Apply double-sided tape or glue to the tabs.
-
Secure the tabs to form the treat box shape.
Step 5: Decorate and Add Finishing Touches
Punch a hole and thread ribbon through the top gables if desired, or leave as is for a minimalist design. Add a name sticker or glitter to personalise the boxes further.
Step 6: Fill with Treats
Place your favourite festive goodies—chocolates, candies, or even small gifts—inside. Close the top securely with tape or ribbon.
WHY I LOVE THIS HOLIDAY DIY PROJECT
These Nutcracker Treat Boxes are more than just containers—they’re a creative way to bring joy and festive spirit to your celebrations. Whether you use them as decor, gifts, or table settings, they’re sure to be a hit with family and friends. Download the template now and get started on your holiday crafting journey!
Happy BOX MAKING! 🎄💖
I’d love to see how you use your treat boxes! Share your creations on Instagram and tag me so I can see how you’re celebrating the season with a personal touch. Here’s to creating and cherishing beautiful memories—one printable at a time.

